Project Settings
Overview
The Project Settings page in Teleform allows you to configure essential aspects of your Telegram bot project. To access it, log in to the Teleform dashboard and click the "View Project" button for your project.
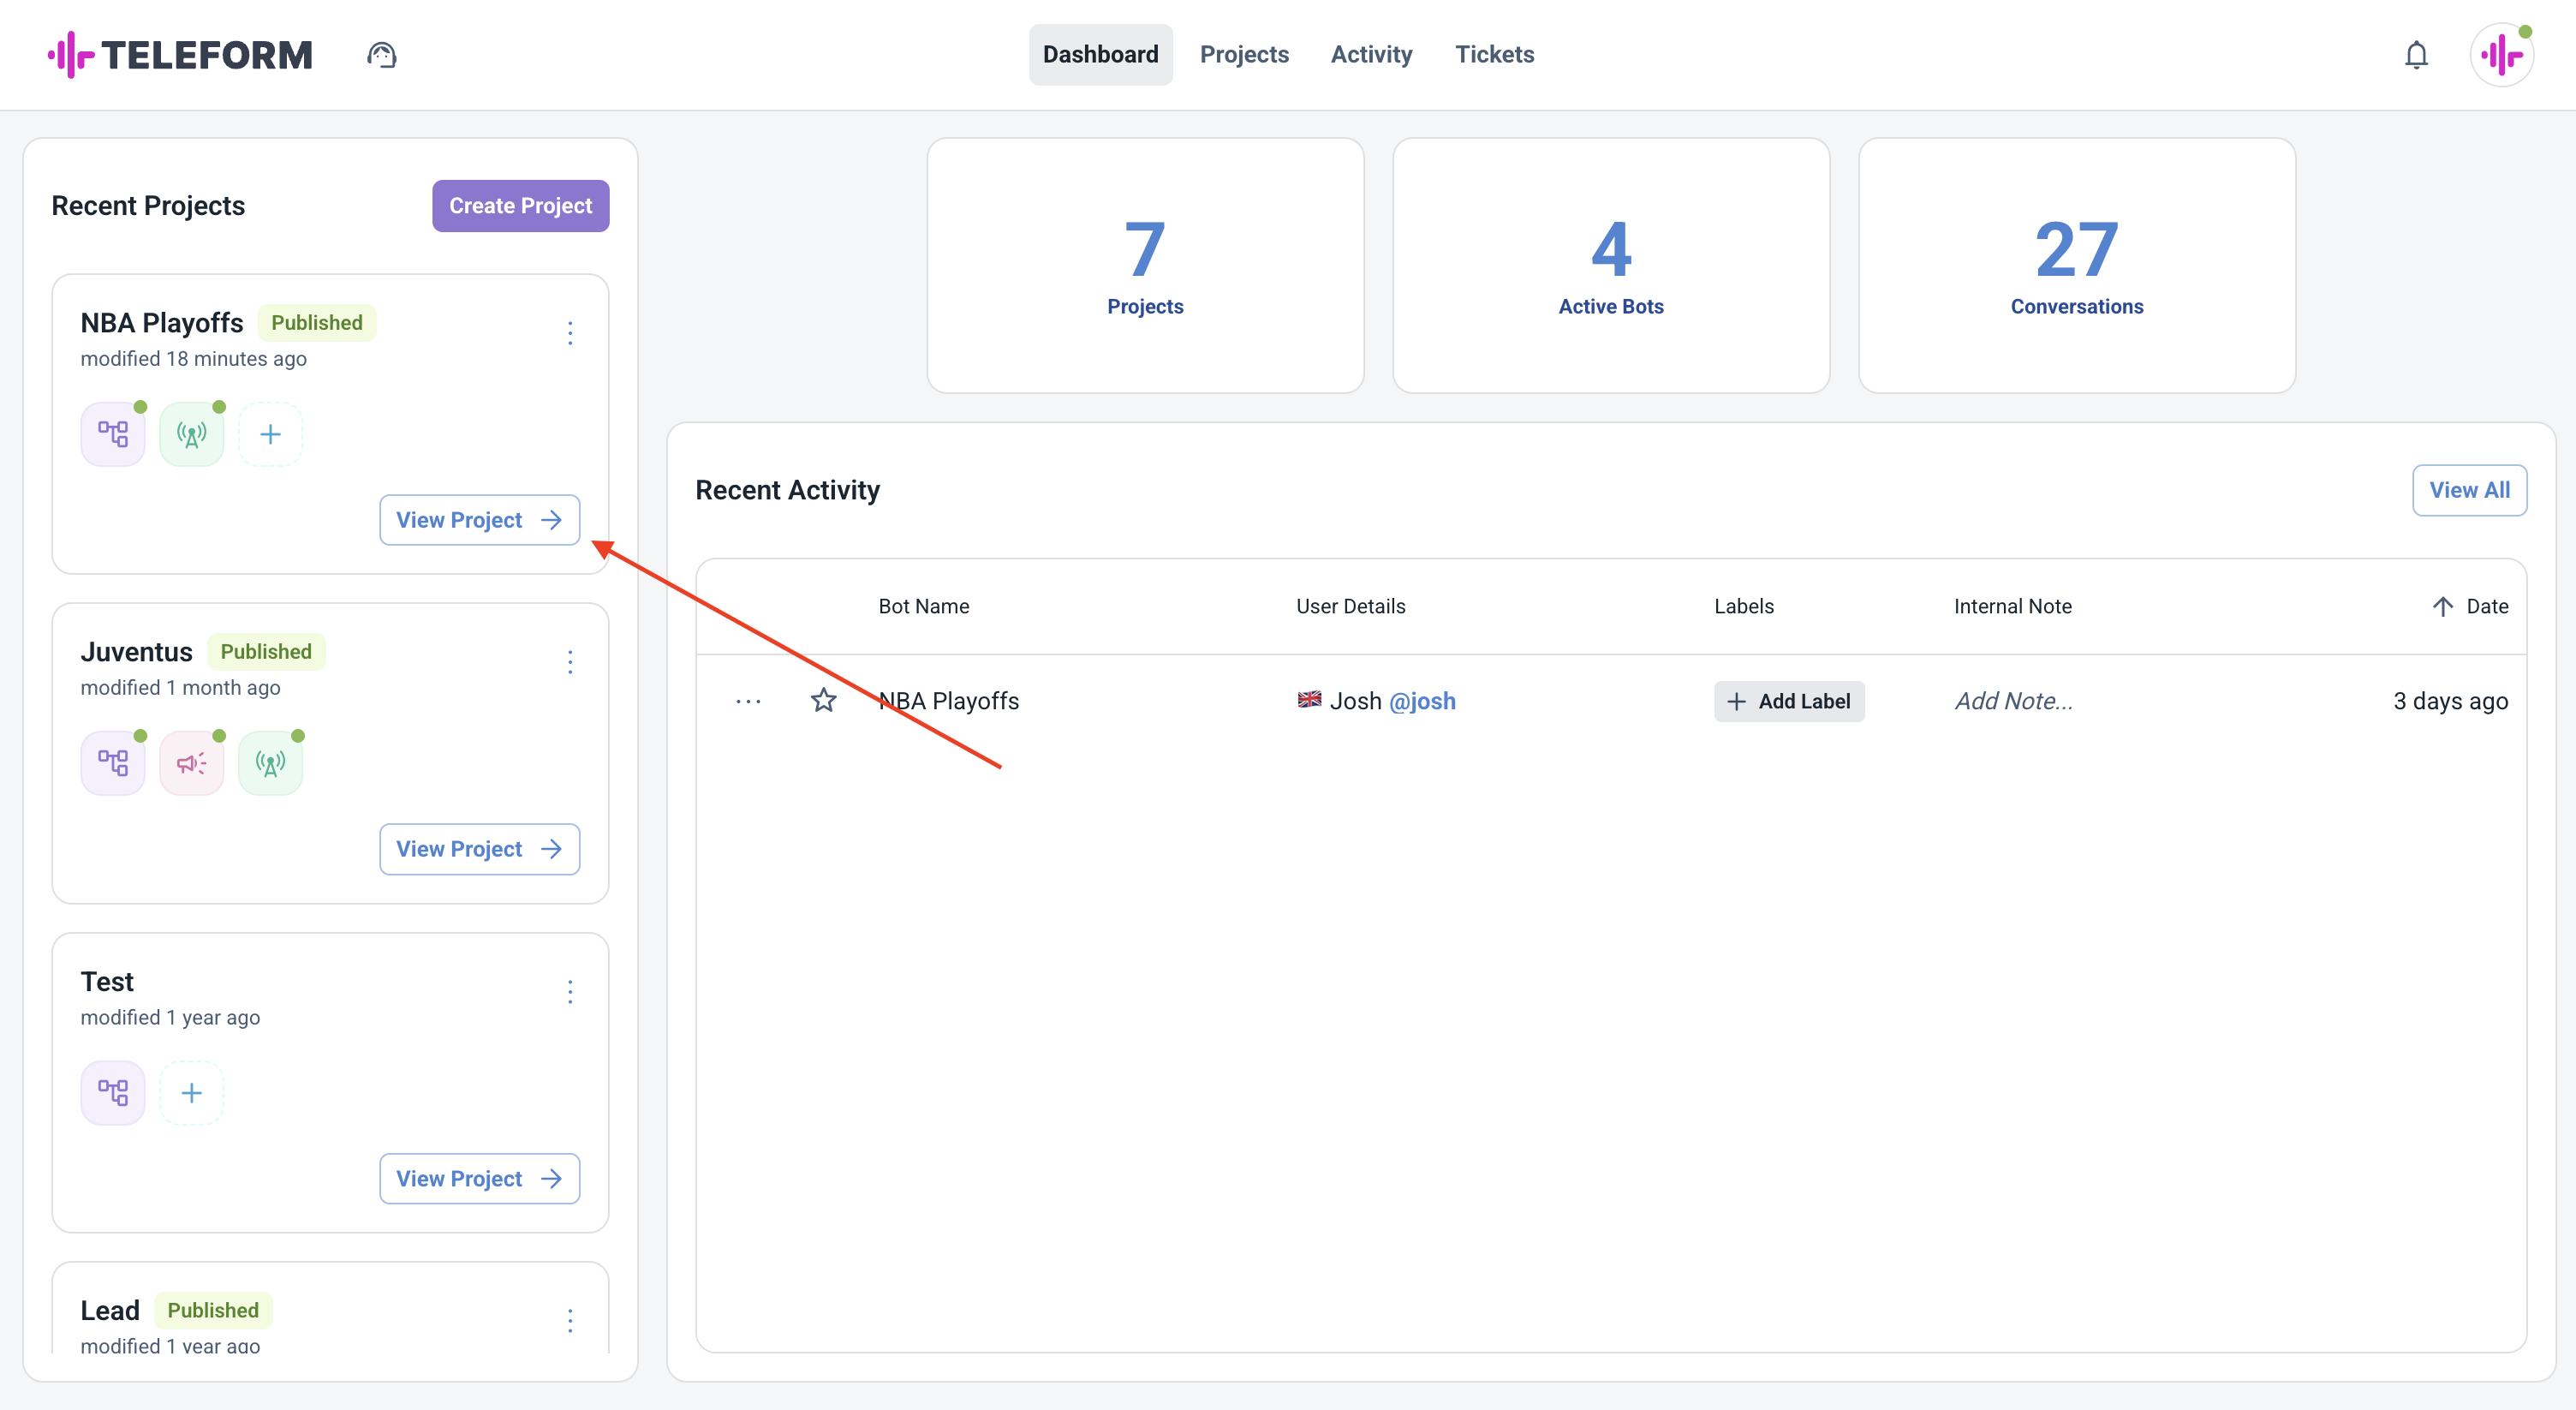
Click the "View Project" button to access your project
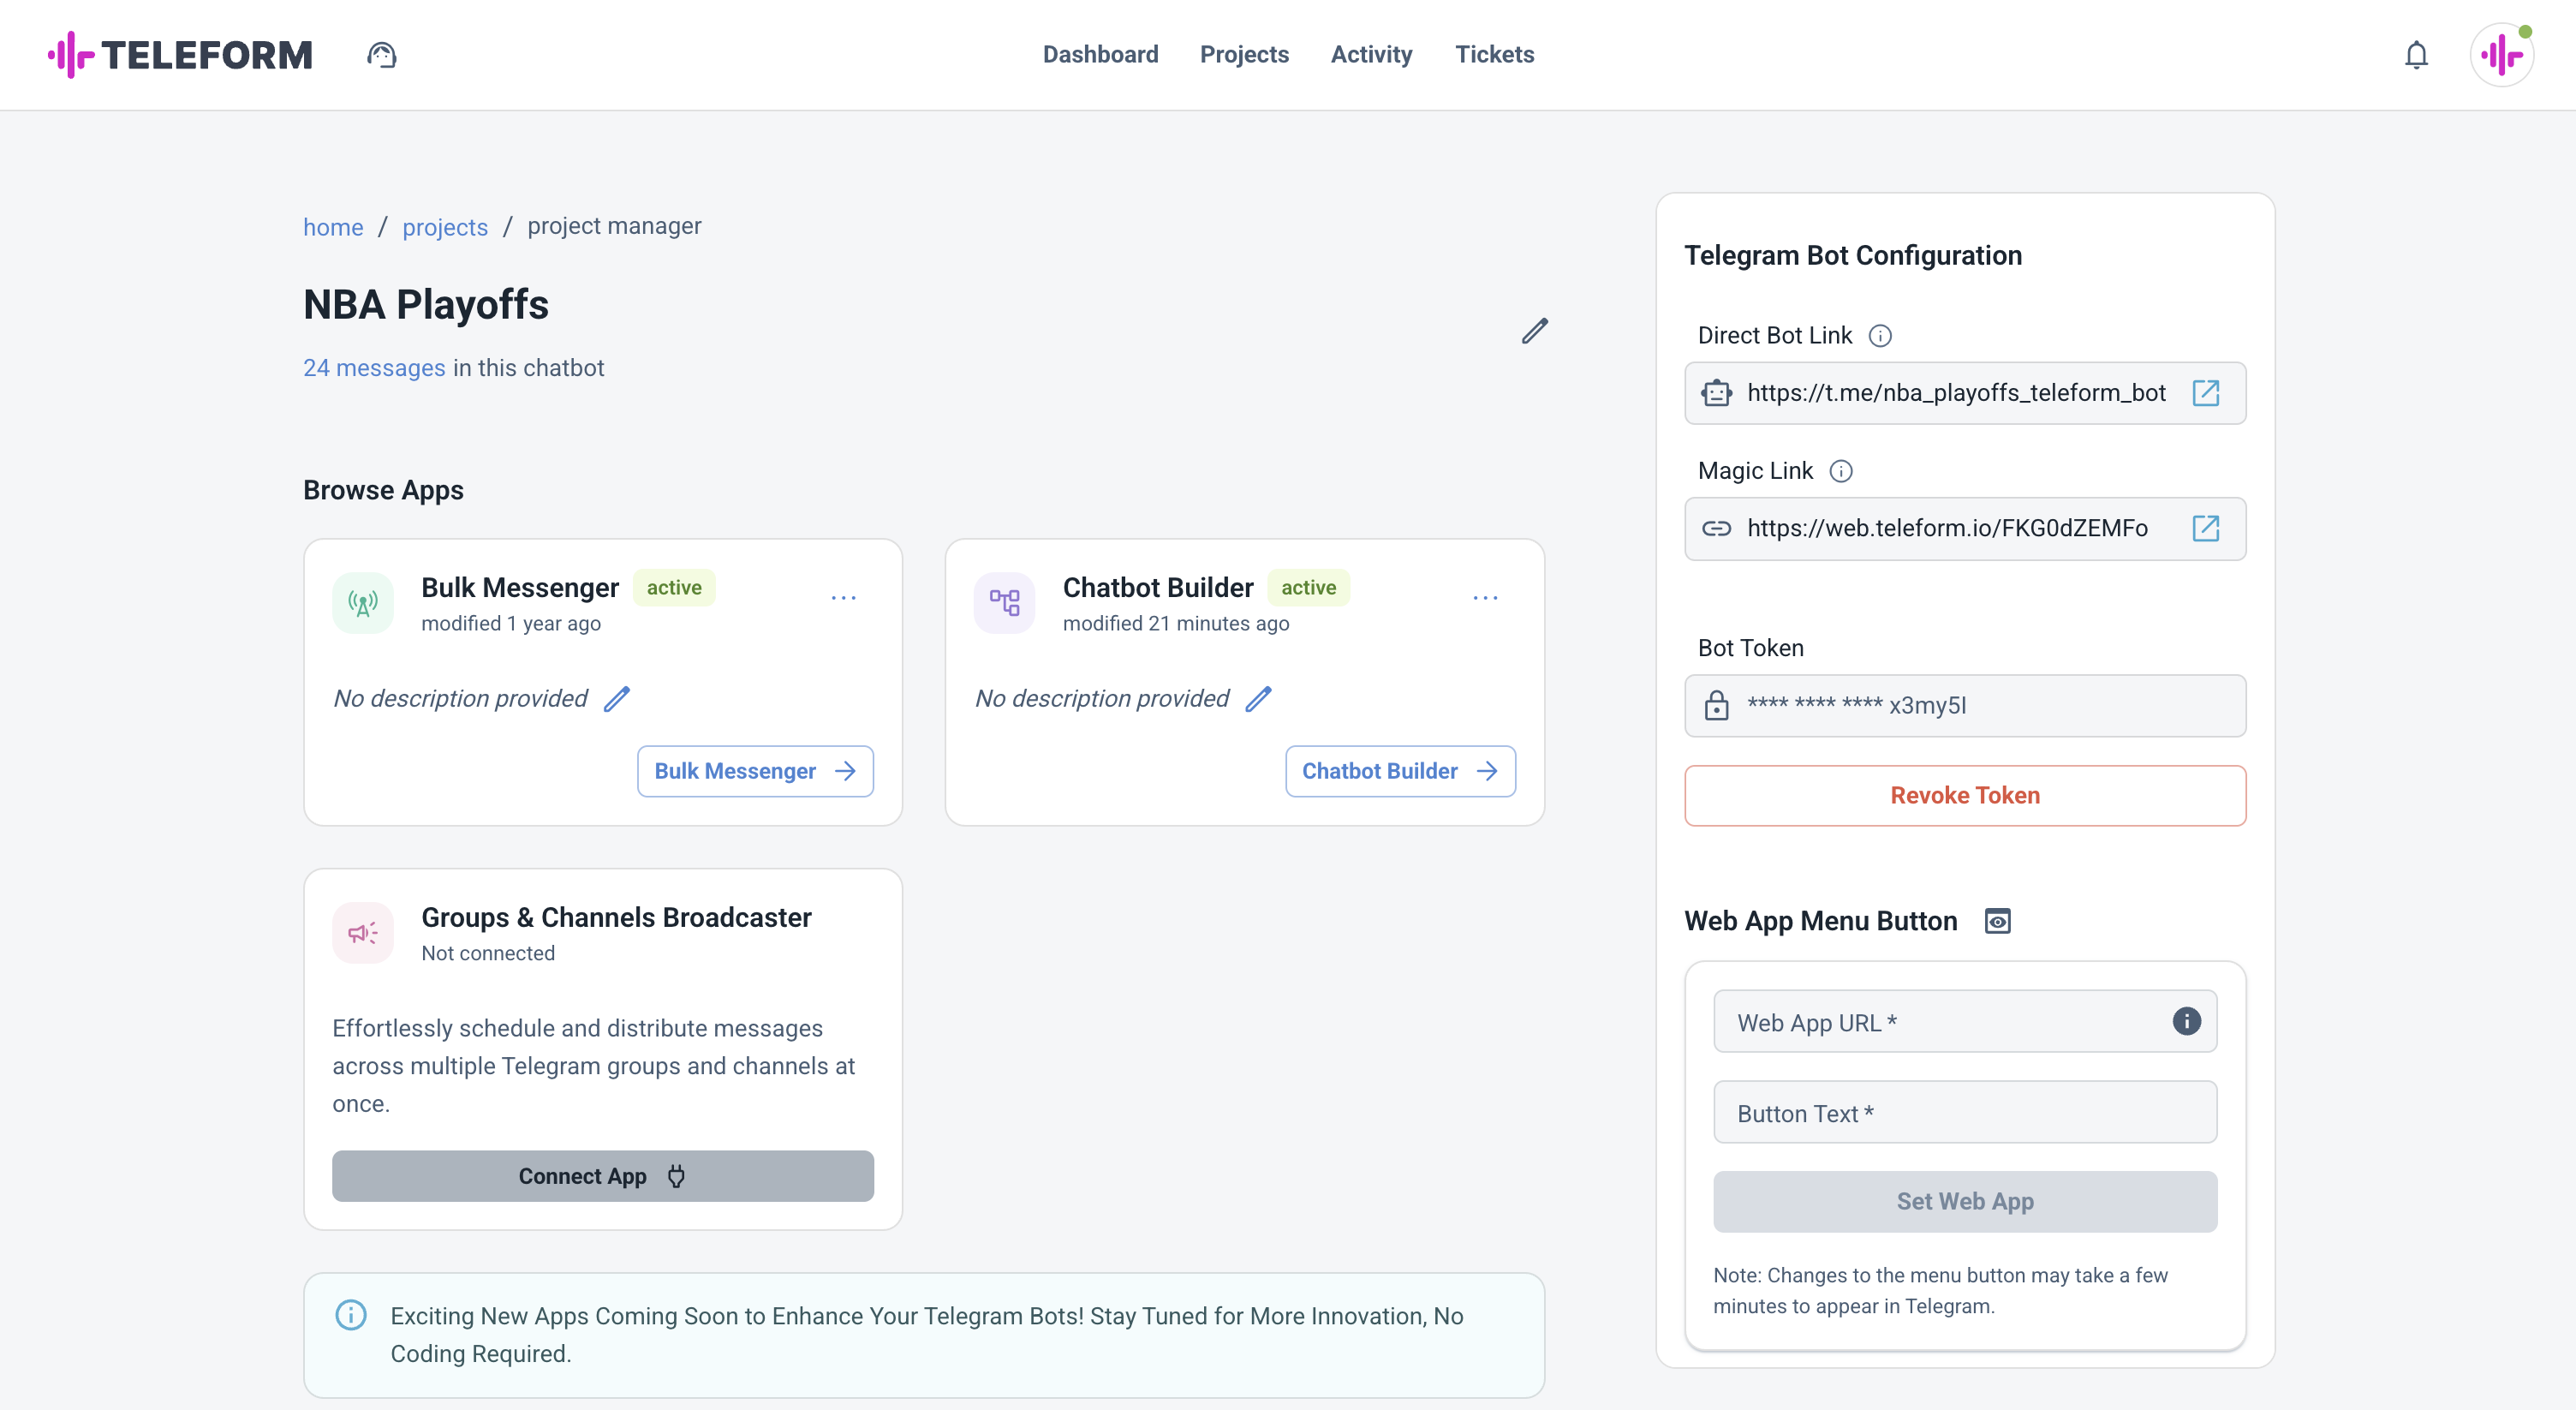
Project Settings page with all configuration options
Some configuration options are managed directly within the Teleform platform (such as connecting your bot and managing integrations), while others—like editing your bot's profile or commands—are handled via Telegram's BotFather.
Create a Bot in Telegram
To create a new Telegram bot:
- Open Telegram and search for @BotFather.
- Start a chat and send the command
/newbot. - Follow the prompts to set your bot's name and username.
- Once created, BotFather will provide you with a bot token. Save this token securely—you'll need it to connect your bot to Teleform.
Connect Your Bot to Teleform
To connect your Telegram bot to Teleform:
- In Teleform, go to your project's Project Settings.
- Find the Bot Configuration section.
- Click Activate Bot Token and paste the token you received from BotFather.
- Click Activate. If successful, you'll see your bot's Telegram link and status update in the settings.
Edit Bot via BotFather in Telegram Directly
Some bot settings—such as the bot's name, profile picture, description, and commands—must be managed directly in Telegram using BotFather:
- Open @BotFather in Telegram.
- Click the /mybots command or tap the menu and select My Bots.
- Choose your bot from the list.
- Click Edit Bot to access options for editing your bot's name, description, profile photo, commands, and more.
For a full list of what you can edit and how, see the official [https://core.telegram.org/bots/features#edit-bots]).
Web App Integration
Teleform supports integration with Telegram Web Apps, allowing you to launch a web experience directly from your bot using the main button in the chat interface.
How to Enable Web App Integration:
- In your project's settings, locate the Web App Integration section.
- Toggle the Web App integration switch to enable the feature.
- Input the URL of your web app (e.g., a form, product selector, or custom tool).
- Set the button label that will appear in Telegram (e.g., "Open Form").
- Configure the button's behavior (such as opening inside Telegram or in an external browser).
Use Case Examples:
- Collecting user information via a custom form
- Product or service selectors
- Interactive surveys or quizzes
- Booking or reservation widgets
For more on Telegram Web Apps, see the official documentation.
Magic Link Feature
Telegram bots support passing custom data through their start links, allowing you to track how users discover and interact with your bot. Teleform enhances this capability with its Magic Link feature, providing flexible tracking options for your campaigns and user journeys.
Understanding Start Parameters
When users click a bot's link, Telegram allows passing a single parameter through the start parameter. For example:
https://t.me/your_bot?start=ref123
This basic tracking method is useful for simple use cases like referral codes or basic campaign tracking.
Teleform's Tracking Methods
Teleform supports two methods for tracking user interactions:
1. Standard Bot Link
- Access your bot's link in the Project Settings
- Append a single parameter using
?start=value - The value is available in Teleform as
${param_start}
Example:
https://t.me/your_bot?start=summer2024
You can use this parameter in URL buttons:
- In Chatbot Builder: Add a "Navigate to URL" node and use
${param_start}in the button's URL - In Bulk Messenger: Add a button with URL and use
${param_start}in the link
Example URL:
https://example.com/landing?ref=${param_start}
2. Magic Link (Multiple Parameters)
For advanced tracking needs, Teleform's Magic Link feature allows multiple custom parameters:
- Create a Magic Link with multiple query parameters
- Each parameter becomes available as a template variable
- Format:
?param1=value1¶m2=value2
Example:
https://t.me/your_bot?ref=abc&camp=summer&source=email
You can use these parameters in URL buttons:
- In Chatbot Builder: Add a "Navigate to URL" node and use parameters like
${param_camp}or${param_ref}in the button's URL - In Bulk Messenger: Add a button with URL and use the parameters in the link
Example URL:
https://example.com/landing?camp=${param_camp}&ref=${param_ref}
Best Practices
- Use clear, consistent parameter names
- Document your parameter structure
- Test your links before sharing
- Keep parameter values URL-safe
- Consider parameter length limits